Microphone
Project Type
3D Model
Timeline
March 2022
Primary Role(s)
Modeler
Tools
Maya
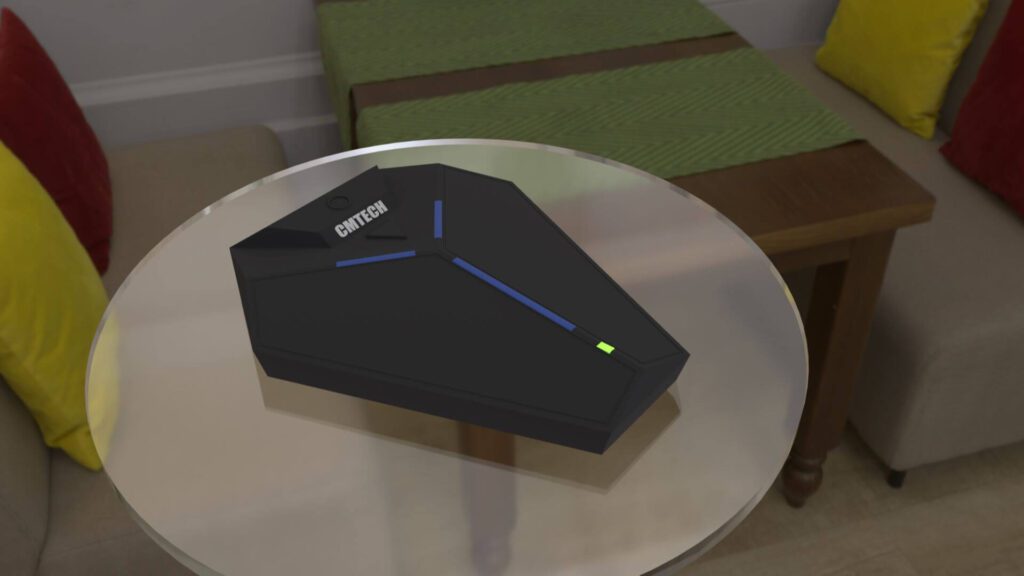
For this project, I modeled and textured a CMTECH desk microphone that I own. This was the perfect opportunity to hone my modeling skills and create something that can be used by myself and others in the future.
Maya was the primary software used for the model, materials, and lights. The entire process took around 5 hours to complete in the span of about a week, with 1 hour spent on testing renders.
Model Download:
3D Desk Microphone Model – Sketchfab Viewer
Details
I started by creating the base of the microphone first out of a cube. I increased its subdivisions to match the reference and extruded it up to give it its height. Using symmetry over the Z-axis, the left and right sides of the base were able to be identical. In addition, I made sure to keep the proportions balanced while working on the base and the other parts of the model.

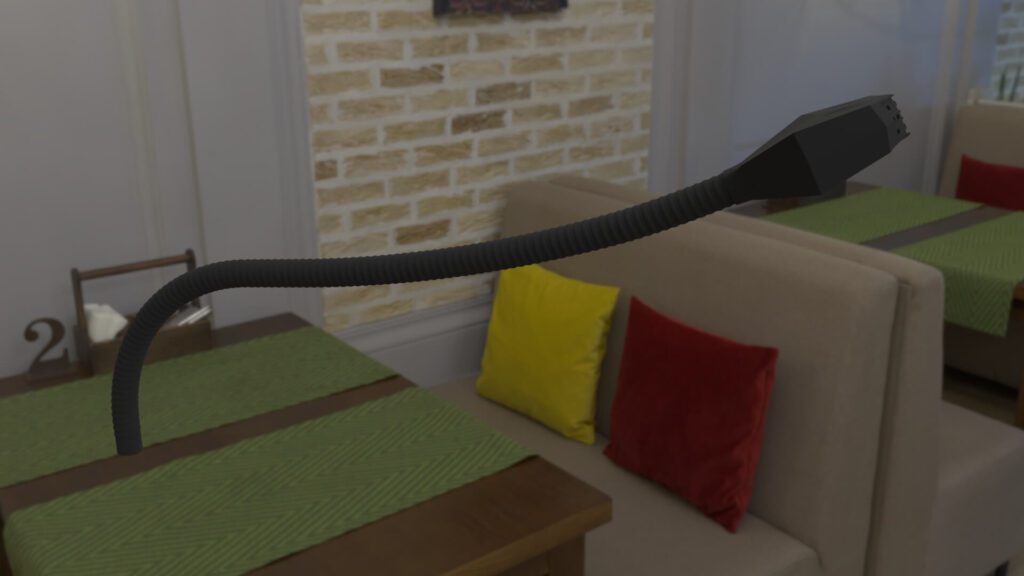
Next up was to create the microphone’s neck and head. For the neck, I modeled it using a cylinder and helix (see Difficulties) and shaped it using two Bend Deformers – one towards the base to give it its initial curve and the other towards the top to give it its realistic, upward bend.
Due to the nature of the neck, I modeled the microphone’s head separately before attaching it to the tip of the neck. Once both parts were complete, they were moved into place on the microphone base.

Bend Deformer #1 to give base curve
Bend Deformer #2 to bend microphone slightly upward


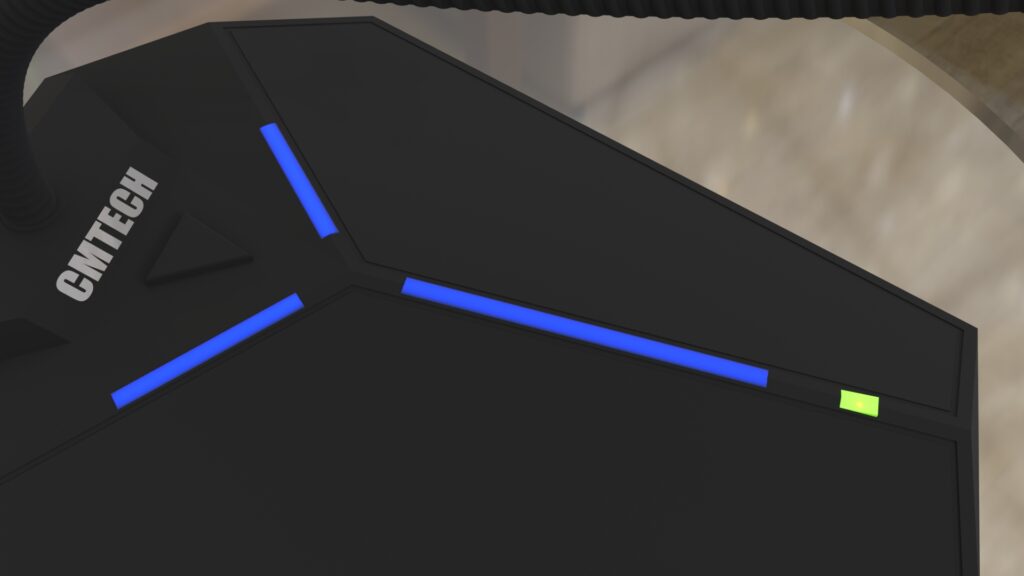
The last step was to add 4 lights over the LEDs on the model’s base. I wanted the light to shine through the LED covers, so I gave the colored LED covers a semi-transparent material and positioned 3 area lights over the long strips and one point light under the ON/OFF indicator cover.
To prepare for the renders, I added a glass base for the model to sit atop and used an HDRI to act as the primary light source. This allowed for the shadows of the model to be visible and for the model to be seen under more realistic lighting.
Difficulties
The most difficult aspect of this project was modeling the neck of the microphone. I wanted the neck to be higher poly in order to look more realistic and correct, but I didn’t want to sacrifice performance. I started by experimenting with just a helix primitive and increasing its divisions and lowering the gap between neighboring spirals, but this method was extremely inefficient and exponentially increased the triangle and poly count – even a slight increase in divisions drastically increased the poly count.
After experimentation, I settled on creating the neck out of two objects: a cylinder with a helix wrapping it. This allowed me to significantly reduce the poly count on the helix while also making the neck look “complete” (no gaps) and visually correct.
Credits
Render HDRI source: https://polyhaven.com/a/comfy_cafe
Microphone used as reference: https://a.co/d/fk77bdY

